
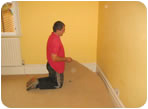
1. Remove Carpet
Take your carpet up carefully, sometimes you will find BT or alarm cables directly under carpet. Disposing of the carpet is normally free at your local rubbish tip for non commercial users.
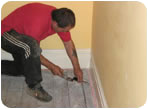
2. Lift Gripper Rods
Time should be taken when lifting gripper rods as they have very sharp gripping teeth and one slip will result in a cut finger, Us a hammer and chisel to remove gripper rods without damaging the floor boards below.
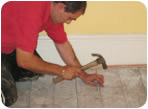
3. Counter Sink Nails
Check for lose floor boards and for protruding nails. Nail heads should be at least flush with the floor boards. Any repairs to floor should be done at this stage also.

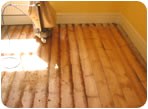
4. Sanding Floor
You should now be ready to start sanding the floor. Use a coarse p24 sanding belt to level and clean the floor boards then use a p40 and p80 medium sanding belt afterwards to smooth floor. (If you are not filling gaps, proceed with p120 sanding).
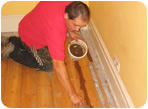
5. If You Decide To Fill Gaps
Mix resin gap filler with the p80 sanding dust collected from your floor, mix up a workable mixture apply it to every gap. For gaps over 6mm wide we would suggest you use slivers of reclaimed floor boards. We hear a lot of uncertainty regarding gap filler, if used correctly and in not to wider gaps it lasts for years.
6. Sanding Filler
After about two hours the gaps are ready to be sanded down using the belt sander with a fine sanding belt. All traces of excess resin are removed in the final stage of the preparation work.
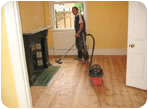
7. Cleaning Up
Make sure that the floor is absolutely dust free by giving the floor two good passes with the vacuum, then wipe the floor over using a damp cotton rag (not soaking wet).
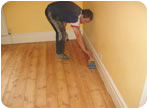
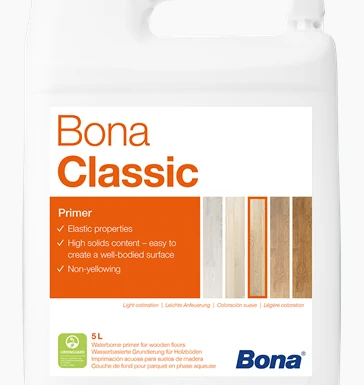
8. Varnishing
After floor is totally clean you can make a start on varnishing. Use a wide varnish brush or roller working two boards at a time, from one end of room to the other. The floor is left to dry for about 1-2 hours. Rub floor down by hand after first coat is dried using a used p120 paper abrasive before applying a further two coats of varnish.
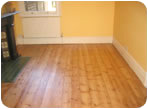
9. Finish
Your floor should have a natural, smooth clear appearance when finished.